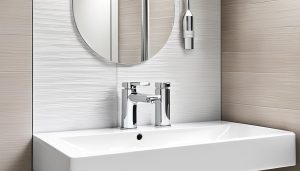
Transforming your bathroom is easier than you think with bathroom cladding. It’s a quick and simple way to give your bathroom a fresh new look. Best of all, you can do it yourself without the need for professional help. In this step-by-step installation guide, we’ll walk you through the process of fitting bathroom cladding, from preparing the surfaces to completing the final touches.
Before you begin the installation, it’s important to acclimatize the cladding panels by allowing them to sit in the room for 24 hours. This ensures that the panels adjust to the room temperature and minimizes any potential changes in size.
Once the panels are acclimatized, you need to prepare the surfaces. If the walls are even and dry, you can fix the panels directly to the wall. However, uneven surfaces or ceilings will require the panels to be fixed to a wooden batten frame.
To successfully install bathroom cladding, you’ll need a few essential tools including a pencil, Stanley knife, straightedge, measuring tape, solvent-free adhesive, screws, and an electric drill. Having these tools at hand will make the installation process much smoother.
Now let’s walk you through the installation process. First, measure the walls to determine the required panel sizes. Then, fit the corner or starter trim and cut the panels to the correct size using a straightedge and Stanley knife. Secure the panels to the wall using either adhesive or screws, ensuring the tongue slots into the groove of the previous panel. Repeat this process for all panels and finish the wall with another corner or ending trim. If you plan to panel multiple walls, simply repeat the process for each one.
The Cladding Store offers a wide range of bathroom cladding panels, as well as all the necessary fittings and adhesive for installation. Browse their collection to find the perfect solution for your bathroom makeover.
Key Takeaways:
- Fitting bathroom cladding is a simple DIY project that can quickly transform your bathroom.
- Before installation, acclimate the panels for 24 hours and ensure surfaces are clean and prepared.
- Gather the necessary tools, including a pencil, Stanley knife, measuring tape, adhesive, screws, and an electric drill.
- Measure the walls, fit corner or starter trim, cut panels to size, and secure them using adhesive or screws.
- Finish the installation by fitting corner or ending trim and repeat the process for multiple walls if needed.
Key Takeaways: British English
- Fitting bathroom cladding is a simple DIY project that can quickly transform your bathroom.
- Before installation, acclimatise the panels for 24 hours and ensure surfaces are clean and prepared.
- Gather the necessary tools, including a pencil, Stanley knife, measuring tape, adhesive, screws, and an electric drill.
- Measure the walls, fit corner or starter trim, cut panels to size, and secure them using adhesive or screws.
- Finish the installation by fitting corner or ending trim and repeat the process for multiple walls if needed.
Before Installation
Prior to installing bathroom cladding panels, it is crucial to properly acclimatize the panels in the room for at least 24 hours. This allows the panels to adjust to the temperature and humidity of the space, ensuring a more stable and secure installation.
If you have an even and dry wall surface, you can directly fix the bathroom cladding panels to the wall. However, if the walls are uneven or if you are installing the cladding on the ceiling, it is recommended to fix the panels to a frame of wooden batons. This provides additional stability and support for the panels.
When fixing the panels to wooden batons, you have a few options for securing them in place. You can use staples, panel pins/nails, screws, or panel adhesive. Choose the method that works best for your specific installation and ensure the panels are firmly fixed to the batons.
Before beginning the installation, it is essential to properly prepare the surfaces. Make sure that all surfaces are clean and free from any dirt, dust, or debris. Additionally, if there are any painted surfaces, it is recommended to lightly sand them to create a better surface for adhesion.
| Fixing Method | Pros | Cons |
|---|---|---|
| Staples | – Quick and easy to use – Provides a secure fixing |
– May not be suitable for all wall surfaces – Difficult to remove if adjustments are needed |
| Panel pins/nails | – Offers a discreet fixing – Can be easily adjusted if needed |
– May require pre-drilling – Not suitable for all wall surfaces |
| Screws | – Provides a strong and secure fixing – Can be easily adjusted or removed if necessary |
– Requires pre-drilling – Visible screw heads |
| Panel adhesive | – Offers a seamless finish – Provides a strong bond |
– Requires drying time – Difficult to adjust once adhesive has dried |
By following these steps and properly acclimatizing the panels, you can ensure a successful and long-lasting installation of your bathroom cladding. Remember to choose the appropriate fixing method for your specific installation and prepare the surfaces thoroughly for optimal results.
Stay tuned for the next section, where we will discuss the essential tools and equipment you’ll need for a smooth installation process.
Tools and Equipment Needed
To ensure a smooth installation process, you will need the following tools and equipment:
- Pencil: Use a pencil for marking the areas where you will be installing the bathroom cladding.
- Stanley knife: A Stanley knife is essential for cutting the panels to the correct size.
- Straightedge: Use a straightedge to ensure straight lines when cutting the panels.
- Measuring tape: A measuring tape is crucial for accurate measurements of the walls and panels.
- Solvent-free adhesive: Choose a solvent-free adhesive for panel installation to ensure a safe and odor-free environment.
- Screws: Screws are necessary for securing the panels to the walls and trims.
- Electric drill: An electric drill will be needed for installing trims and securing panels with screws.
Having these tools on hand will make the installation process quicker and easier, ensuring that your bathroom cladding project is a success.
“Gathering the right tools and equipment is a crucial step in any DIY project. Having the necessary items at your disposal will streamline the installation process and help you achieve professional results.”
Installation Process
Now that you have prepared the surfaces and gathered the necessary tools, it’s time to start the installation process. Follow these step-by-step instructions to fit your bathroom cladding:
Step 1: Measure the Walls
Start by measuring the walls from floor to ceiling. This measurement is crucial for ensuring accurate panel cuts and a seamless installation.
Step 2: Fit the Corner or Starter Trim
Next, fit the corner or starter trim along the length of one wall. Use an electric drill and screws to secure the trim to the wall. Make sure to mark the trim with the wall measurement and cut it to size using a saw or a utility knife.
Step 3: Cut the Panels
Transfer the wall measurements onto the panels and use a straightedge to mark a straight line where each panel needs to be cut. Take your time to ensure precise and accurate cuts. A Stanley knife works well for cutting the panels.
Step 4: Fit the Panels
Fit the first panel onto the wall, using either adhesive or screws to secure it. Make sure that the tongue of the panel slots into the groove of the previous panel before pressing down to secure it. Repeat this process for the remaining panels, ensuring a snug fit and alignment.
Step 5: Repeat the Process
Continue measuring, cutting, and fitting panels until the entire wall is covered. Take your time to achieve a professional finish.
Step 6: Finish the Wall
Once all the panels are installed, finish the wall by fitting another corner or ending trim. This trim will provide a neat and polished look to the edges of the cladding.
And there you have it! You’ve successfully installed your bathroom cladding. Take a moment to admire your transformed space and enjoy the benefits of your new wall covering.
Installing Your Own Bathroom Wall Panels
Now that you know how easy it is to install bathroom wall panels, you can consider purchasing them from The Cladding Store. They offer a wide range of bathroom cladding panels to choose from.
When browsing their website, you’ll find a diverse range of options to suit your style and preferences. Whether you’re looking for a sleek and modern design or a more traditional look, their collection has something for everyone.
In addition to an extensive range of panels, The Cladding Store also provides all the necessary fittings, trims, and adhesive for installation, ensuring a hassle-free experience.
By offering a one-stop shop, The Cladding Store makes it convenient for you to purchase everything you need for your bathroom cladding project in one place, saving you time and effort.
If you have any questions or need advice, their knowledgeable team is ready to assist you. Feel free to reach out to them for guidance and recommendations to help you make the right choices.
Transform your bathroom with high-quality panels from The Cladding Store. Browse their range of panels, fittings, and adhesive available, and create a beautiful, durable, and easy-to-maintain bathroom space.
Video Demonstration and Text Guide
If you prefer visual guidance, there is a helpful video demonstration available for fitting both wall and ceiling panels, specifically bathroom cladding. The video provides step-by-step instructions and tips for cladding around ceiling lights and avoiding heat damage. Additionally, there is a text guide available for those who prefer written instructions.
The text guide covers various topics, ensuring you have a detailed guide for fitting wall and ceiling panels. The topics covered include:
- Measuring for wall panels
- Fitting PVC ceiling cladding
- Fitting plastic coving
- Fitting wet wall panels
- Fitting panels around a bath or shower
- Fitting panels around a window
The text guide provides step-by-step instructions for each topic, ensuring you have all the information you need to successfully install your bathroom cladding. Whether you prefer video demonstrations or detailed written instructions, we have you covered.
Expert Tip:
“When fitting panels around a bath or shower, make sure to leave a small expansion gap between the panels and the bath or shower tray. This allows for potential movement and ensures a smooth and professional finish.”
Video Demonstration:
Watch the video below for a step-by-step demonstration of how to fit wall and ceiling panels in your bathroom:
Text Guide: Fitting Wall and Ceiling Panels
| Step | Description |
|---|---|
| 1 | Measure the area where you want to install the panels. |
| 2 | Prepare the wall surface by ensuring it is clean and dry. |
| 3 | Cut the panels to the appropriate size using a sharp utility knife. |
| 4 | Apply adhesive to the back of the panel and press it firmly onto the wall. |
| 5 | Repeat the process for each panel, ensuring they are properly aligned and securely attached. |
| 6 | For ceiling panels, follow the same steps and use appropriate fixings to secure them. |
| 7 | Finish the installation by adding appropriate trims and sealant to create a professional look. |
By following the detailed instructions provided in the text guide or watching the video demonstration, you can confidently fit wall and ceiling panels in your bathroom. Whether you choose to rely on visuals or prefer written instructions, both resources are available to help you achieve a successful installation.
What to Consider Before Installation
Before purchasing bathroom cladding and beginning the installation, there are a few things to consider. Ensure that you measure the area accurately to order panels from the same batch and account for any variations in color.
If there are internal or external corners, windows, or doorways, make sure to purchase the necessary trims to achieve a clean and professional finish. These trims will help to secure the panels and create neat edges.
If the walls are uneven, it is important to account for this during the installation process. Consider using a batten frame to create a level surface for the cladding. This will ensure that the panels are fitted securely and will look seamless when installed.
In wet environments such as bathrooms, it is recommended to seal each joint of the cladding with silicone sealant. This extra step will provide additional waterproofing and prevent any moisture from seeping behind the panels.
Finally, it is important to leave room for expansion when installing the panels. This means leaving a small gap around the edges to accommodate any movement or changes in temperature. This will prevent the panels from buckling or warping over time.
| Considerations Before Installation | Actions |
|---|---|
| Measure area accurately | Order panels from the same batch and account for color variations |
| Purchase necessary trims | Ensure clean edges and secure panel installation |
| Account for uneven walls | Consider using a batten frame for a level surface |
| Consider sealing joints | Use silicone sealant for extra waterproofing |
| Leave room for expansion | Avoid buckling or warping by allowing for movement |
How to Cut Cladding
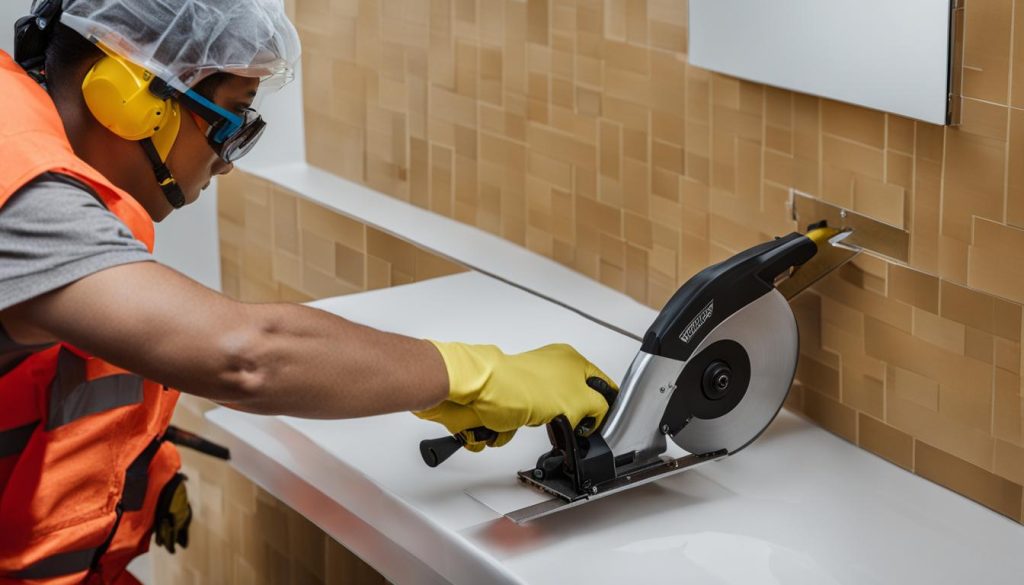
When installing bathroom cladding, you may need to make cuts to ensure a perfect fit. Luckily, cutting cladding is a straightforward process that can be done using various tools. Here’s a step-by-step guide on how to cut cladding like a pro:
- Utility Knife: A utility knife is a versatile tool that can be used to cut bathroom cladding. Simply mark the measurement on the panel, score the surface with the knife, and then snap the panel along the score line. This method works best for thinner panels.
- Wood Saw: For thicker cladding panels, a wood saw can be used to make precise cuts. It’s important to cut at a shallow angle to prevent splintering and ensure a smooth edge. Use a combination square or the handle edge of a wood saw to mark the cut line before making the cut.
- Jigsaw: If you have complex cuts or curves, a jigsaw can be a handy tool. It allows for more flexibility and precision when cutting cladding panels. Make sure to use a fine-toothed blade and take your time to achieve accurate cuts.
- Hacksaw: A hacksaw can be used for cutting metal trims or profiles that may be included in your cladding installation. It’s important to use a fine-toothed blade and maintain a steady hand for clean and accurate cuts.
Regardless of the tool you choose, always aim for neat and precise cuts to achieve a professional finish. It’s also important to remove the tongue on the first panel before fitting it into the trim, as this ensures a smooth and seamless installation.
Now that you know how to cut cladding, you can confidently tackle your bathroom cladding project with ease. Follow the instructions above, and you’ll be on your way to creating a stunning and functional bathroom space.
How to Fix Trims and Cladding
When it comes to fixing trims and cladding, the method you choose will depend on the type of surface you are working with. Here are some suitable fixings for different surfaces:
Fixing Trims and Cladding on Brick Walls
For brick walls, it is recommended to use red plugs and screws or masonry nails. These fixings provide a secure hold and ensure that the trims and cladding stay in place.
Fixing Trims and Cladding on Plasterboard
If you are working with plasterboard, small wood screws are the ideal choice for fixing trims and cladding. These screws provide a strong and reliable hold while minimizing the risk of damage to the plasterboard.
Fixing Trims and Cladding on MDF or Wood Surfaces
When working with MDF or wood surfaces, you have several options for fixings. Wood screws, nails, or staples can all be used to secure trims and cladding onto these surfaces. Choose the option that suits your preferences and the specific requirements of your project.
Regardless of the surface you are working with, it is important to exercise caution to avoid damaging cables. Before fixing, drilling, or nailing, be aware of possible cable runs from sockets or switches. To ensure the safety of your electrical installation, it is recommended to consult a qualified electrician for advice on cable installation.
Now that you know how to fix trims and cladding effectively, you can proceed with confidence in your bathroom renovation project.
Key Points:
- Use red plugs and screws or masonry nails for brick walls.
- Small wood screws are suitable for plasterboard surfaces.
- Wood screws, nails, or staples can be used on MDF or wood surfaces.
- Avoid damaging cables by consulting a qualified electrician.
Fitting PVC Wall Cladding
When it comes to fitting PVC wall cladding, the process is straightforward and can be easily done on your own. Here’s a step-by-step guide to help you through the installation:
- Cut the panels to the desired size, ensuring they fit the dimensions of your wall perfectly.
- Begin by fitting the first panel into the corner or starter trim, making sure it is secure.
- Continue the installation by repeating the process with each panel, ensuring that the tongue slots into the groove of the previous panel. This creates a tight and seamless fit.
- For the final panel, measure and cut it to fit the remaining space. Secure it in place using adhesive or screws, depending on your preference.
- If needed, you can use end caps to neatly finish the edges of the cladding, giving it a clean and polished look.
- In wet areas such as bathrooms, it is essential to create a watertight seal. Apply silicone sealant along the jointing grooves to ensure maximum protection against water leakage and maintain the integrity of your wall cladding.
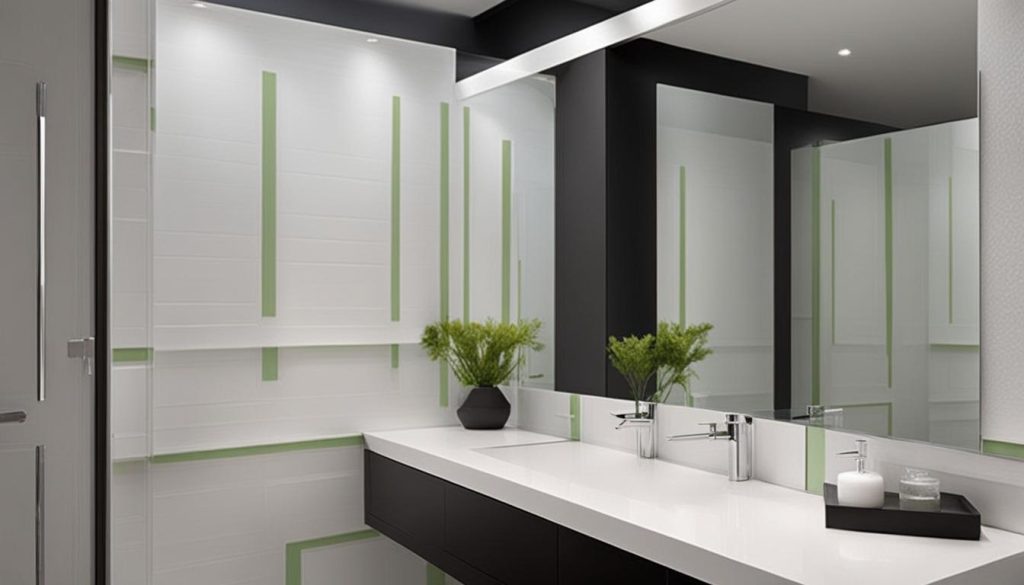
With these simple steps, you can transform your walls with PVC wall cladding. Enjoy the benefits of a stylish and durable wall covering that is easy to maintain. Get creative with your interior design and create a space that reflects your personal style.
Fitting Ceiling Cladding
When it comes to fitting ceiling cladding, the process can be straightforward if your surface is level and flush. However, if you’re dealing with an uneven ceiling, it’s recommended to build a batten frame to create a level surface for the cladding.
To start the installation, fix the edging trim to the ceiling or battens, leaving one trim to be fitted later. This trim will ensure a neat and secure finish. Next, cut the first panel to size and fit it into the side trims, using screws or staples to secure it in place.
Once the first panel is in place, continue cutting the remaining panels to size and slide them into the previous panel using the tongue and groove system. This system ensures a tight and interlocking fit between the panels. Finally, cut and fit the final panel, securing it with adhesive to ensure a secure fit with the side trims.
By following these steps, you can achieve a seamless and polished look for your ceiling cladding. Whether you’re looking to refresh your bathroom, kitchen, or any other space, ceiling cladding is a fantastic option that offers both style and practicality.

