If you have installed bathroom cladding, you may be wondering if it is possible to safely drill holes for fitting accessories. The good news is that drilling bathroom cladding is indeed possible, and with the right techniques and tools, you can achieve a secure and professional installation.
One of the key factors to consider when drilling bathroom cladding is the type of wall behind the panels. For masonry walls, you can use a standard wall plug and a hammer drill. However, for plasterboard walls, a hollow wall fixing is required to provide adequate support.
It’s important to note that bathroom cladding is typically 8-10mm thick and is not prone to cracking unless extreme force is applied. When refitting accessories in the same spot, you can use a blowtorch to heat the screws and melt them through the cladding, ensuring a seamless finish. Additionally, remember to seal behind accessories with silicone sealant in wet areas to prevent water damage.
Key Takeaways:
- Drilling bathroom cladding is possible and can be done safely with the right techniques and tools.
- Type of wall behind the cladding determines the type of fixing required for installation.
- Bathroom cladding is 8-10mm thick and is not prone to cracking unless extreme force is applied.
- Heating screws with a blowtorch can help melt them through the cladding when refitting accessories in the same spot.
- Sealing behind accessories with silicone sealant is crucial to prevent water damage in wet areas.
What to Consider Before Drilling Bathroom Cladding
Before drilling bathroom cladding, there are a few important considerations to keep in mind. By taking these factors into account, you can ensure a successful and hassle-free installation process.
Accurate Measurements for Color Consistency
One crucial consideration is to measure the area accurately before ordering the cladding panels. This step is essential to ensure that you order panels from the same batch, maintaining color consistency throughout your installation. By measuring carefully, you can avoid any inconsistencies or variations in color that may detract from the overall aesthetic of your bathroom.
Corner Pieces and ‘H’ Trims
When installing bathroom cladding, it’s important to plan for internal and external corners, as well as areas around columns, windows, and doorways. To achieve a professional and seamless finish, you will need external corner pieces designed to fit the cladding panels. These pieces help create a smooth transition around corners and edges, enhancing the overall appearance of your bathroom.
If you need to install panels end to end, consider using an ‘H’ trim. This trim provides a clean and seamless joint between the panels, ensuring a cohesive look throughout the cladding installation.
Sealing Joints in Wet Areas
If you’re installing bathroom cladding in a wet area, such as a shower enclosure, it’s crucial to seal each joint with silicone sealant. This step helps prevent water penetration and protects the underlying wall from moisture damage. By taking the time to seal the joints properly, you can ensure the longevity of your cladding installation and maintain a watertight and hygienic bathroom environment.
Allowing for Expansion and Suitable Wall Surface
When installing bathroom cladding, it’s important to leave room for expansion. Cladding panels can expand and contract with temperature and humidity changes, and adequate space must be allowed to accommodate these movements. Failure to account for expansion can lead to warping or buckling of the cladding.
Additionally, before drilling into the cladding, ensure that the wall surface is suitable for drilling. Depending on the type of cladding and the wall behind it, you may need specific tools or techniques for drilling. Following manufacturer guidelines and recommendations will help you select the appropriate drilling method for your bathroom cladding installation.
By considering these factors before drilling bathroom cladding, you can ensure a smooth and successful installation process that results in a beautiful and durable bathroom. Keep in mind the measurements, corner pieces, sealing joints, allowing for expansion, and suitability of the wall surface for drilling to achieve the best possible outcome for your cladding project.
How to Cut Bathroom Cladding
Bathroom cladding is a versatile and durable option for your walls, but sometimes you may need to cut it to fit your specific requirements. Whether you’re working with PVC, plastic, or acrylic cladding, cutting it can be a straightforward process. Here are some methods you can use:
- Utility Knife: A sharp utility knife is an excellent tool for cutting bathroom cladding. Make sure the blade is fresh and start by scoring the surface gently. Repeat the scoring process until you’ve created a groove deep enough to snap the panel cleanly.
- Wood Saw: If you prefer using a traditional tool, a wood saw can be effective for cutting bathroom cladding. Use a fine-toothed saw to ensure a clean cut. Cutting at a shallow angle can help you achieve a smoother edge.
- Jigsaw: For more intricate cuts or curved edges, a jigsaw can be a useful option. Use a fine-toothed blade designed for cutting plastics or acrylics. Take your time and follow the desired cutting line carefully.
- Hacksaw: A hacksaw with a fine-toothed blade can also be used to cut bathroom cladding. Ensure that your movements are steady and deliberate to achieve the desired result.
When cutting, it’s essential to maintain accuracy and create clean edges. To ensure a straight cut, use a combination square or wood saw handle as a guide. Remove the tongue of the panel if necessary for a flush fit against the wall. Take care to protect yourself by wearing appropriate safety gear, such as goggles and gloves, when using cutting tools.
Remember, precision is key when cutting bathroom cladding. Measure twice and cut once to avoid unnecessary mistakes. By using the right tools and following these guidelines, you can ensure a clean and professional finish for your bathroom cladding installation.
Fixing Lightweight Items to Bathroom Cladding
If you’re looking to add lightweight items like shower slider rail kits or shower cubicle frames to your bathroom cladding, you’ll be glad to know that it can be done easily and securely. Here’s how:
- First, determine the location where you want to fix the item. Mark the spot on the cladding surface.
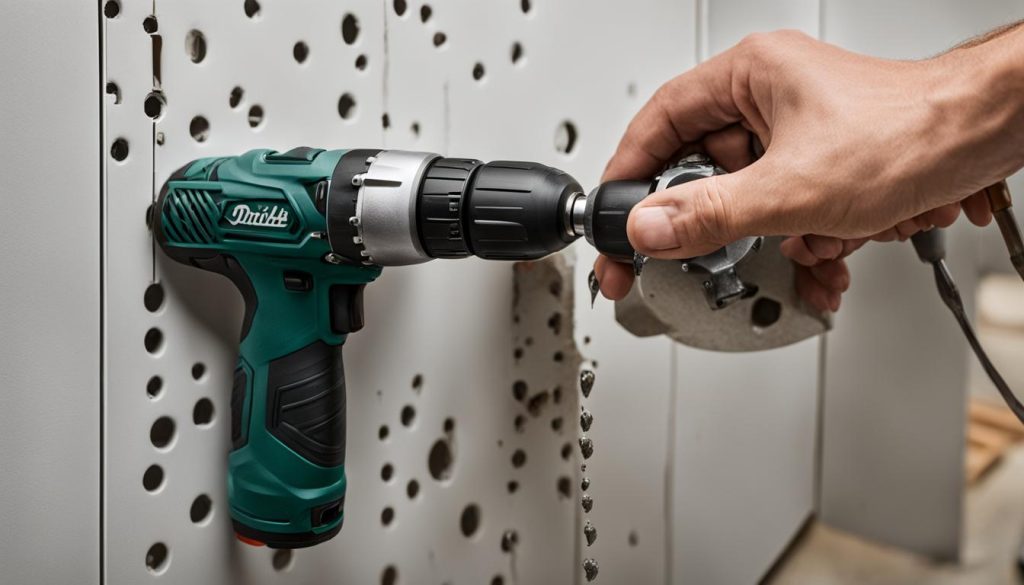
- Using an appropriate drill bit, create a pilot hole through the panel at the marked spot. Take care not to apply excessive force that could damage the cladding.
- Insert spacers between the wall and the surface of the fixed panels. This will prevent the items from deforming or crushing the cladding.
- Place the lightweight item over the pilot hole and align it properly. Drive a screw through the item and into the wall behind the cladding.
- Ensure that the load is evenly distributed along the entire length of the frame. If necessary, use additional screws for a more solid and secure installation.
Remember to use spacers to protect the cladding and distribute the load evenly. This will help maintain the structural integrity of your bathroom cladding and ensure a long-lasting installation.
By following these steps, you can confidently fix lightweight items to your bathroom cladding without compromising its durability or aesthetic appeal.
| Pros | Cons |
|---|---|
| Easy and secure installation of lightweight items | Not suitable for heavy-duty fixtures |
| Does not require additional support or reinforcement | May require additional screws for a more solid surface |
| Prevents damage and deformation of the cladding | Appropriate spacers and screw lengths are crucial for proper installation |
Medium Duty Fixings for Bathroom Cladding
When it comes to installing medium-sized fixtures like shower mixers and curtain rails on your bathroom cladding, it’s essential to ensure a secure fixing method to prevent any damage. Here are a few options that you can consider:
-
Wall plugs: One common method is to use wall plugs that are cut to the appropriate length and then fitted flush with the surface of the cladding panel. This technique helps to prevent crushing and provides a stable base for the fixings.
-
Sink screws: Another option is to sink screws through the cladding panels into the wall, leveling the screw heads with the panel surface. By using multiple screws, you can create a more solid and secure surface for your fixtures.
Remember, it’s important to seal any holes created through the cladding with silicone sealant. This step is crucial to prevent water damage and maintain the integrity of your bathroom cladding.
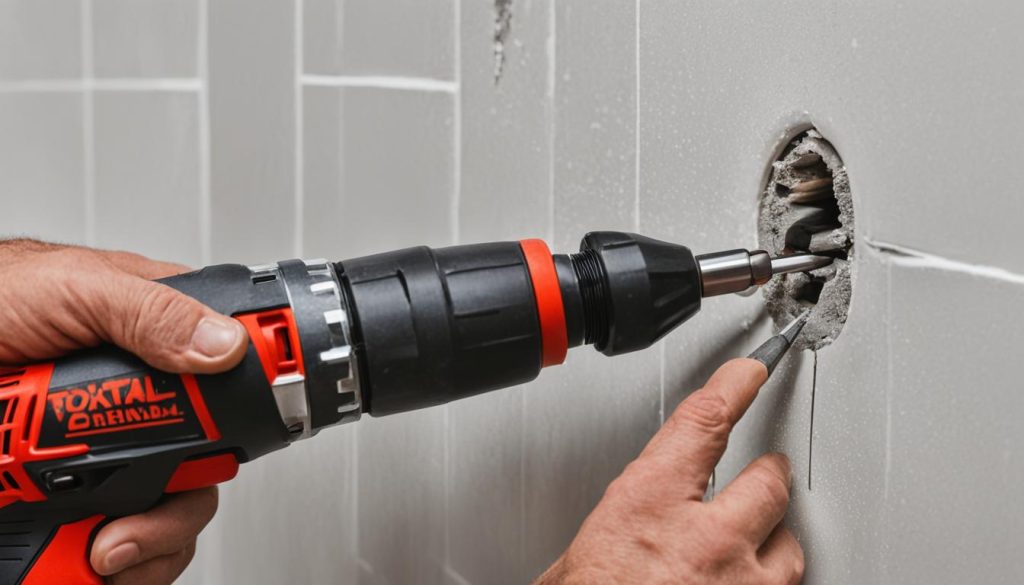
Whether you choose wall plugs or screw fixings, ensure that you follow the manufacturer’s instructions and use the appropriate tools for the job. By taking the necessary precautions and using the right fixings, you can safely and securely install medium-sized fixtures on your bathroom cladding.
Heavy Duty Fixings for Bathroom Cladding
When it comes to installing certain bathroom items like wall-hung toilets, basins, and shower seats, heavy-duty fixings are necessary to ensure stability and safety. These fixtures require a separate installation method to securely fix them to handle their intended use.
For wall-hung toilets, it is crucial to follow specific instructions provided by the manufacturer for the fixing process. This will ensure that the toilet pan is securely attached to the bathroom cladding, providing stability and preventing any potential accidents. These instructions will typically guide you on the appropriate fixings and techniques to use for wall-hung toilets.
Similarly, when installing basins and shower seats, it is essential to utilize heavy-duty fixings that are specifically designed for these fixtures. These fixings will provide the necessary strength and support to withstand the weight and pressure that comes with their use. Always refer to the manufacturer’s instructions for the correct installation method and required fixings.
To summarize, heavy-duty fixings are essential for certain bathroom fixtures that require additional support and stability. By following the manufacturer’s instructions, you can ensure that wall-hung toilets, basins, and shower seats are securely fixed to the bathroom cladding, providing a safe and functional environment.
Tips for Fitting Bathroom Cladding
When fitting bathroom cladding, it’s essential to have the right tools and materials. To ensure a successful installation, follow these handy tips:
Gather the Necessary Tools and Materials
To begin, make sure you have the following items:
- Tape measure
- Saw
- Screws
- Screwdriver or drill
- Drill bits (5.5mm for masonry walls)
- Silicone sealant
- Grab adhesive (solvent-free)
- Trims
- Wood battens (if required)
Accurately Measure the Area
Before starting the installation, measure the area accurately. Take into account any uneven walls or surfaces that may require additional adjustments.
Choose Appropriate Fixings
It’s crucial to use appropriate fixings for the specific wall surface. Consider the type of cladding and the wall material to ensure a secure and long-lasting installation.
Apply Grab Adhesive for Panel Installation
Use a solvent-free grab adhesive to secure the cladding panels to the wall. Apply the adhesive evenly on the back of the panel, ensuring complete coverage for a strong bond.
Secure Panels with Screws or Staples (If Needed)
Depending on the specific installation requirements, you may need to secure the panels with screws or staples. This provides additional support and ensures a secure fit.
Cut Panels Accurately
Accurate cutting of the panels is essential for achieving a professional finish. Use a saw or an appropriate cutting tool to make precise cuts as per your measurements.
Fit Trims for a Polished Finish
Install trims to create a polished appearance. Trims not only enhance the aesthetics but also help cover any uneven edges for a neat and tidy overall look.
Seal Joints with Silicone in Wet Areas
In wet areas, such as showers or around sinks, it’s crucial to seal the joints with silicone. This prevents water infiltration and helps maintain the integrity of the cladding.
By following these tips, you can ensure a successful fitting of bathroom cladding. Enjoy the functional and aesthetic benefits of your newly installed cladding!
| Tools | Materials |
|---|---|
| Tape measure | Cladding panels |
| Saw | Screws |
| Screwdriver or drill | Silicone sealant |
| Drill bits (5.5mm for masonry walls) | Grab adhesive (solvent-free) |
| – | Trims |
| – | Wood battens (if required) |
Remember to have these tools and materials ready before you start your bathroom cladding installation.
How to Install PVC Wall Cladding
When it comes to installing PVC wall cladding, proper preparation and accurate measurements are key. Follow these steps to ensure a seamless installation:
- Start by preparing the area where you’ll be installing the PVC wall cladding. Make sure the wall is clean and dry.
- If necessary, fit end caps to the panels before installation to achieve a neat finish.
- Carefully measure the panels and mark where they need to be cut to the correct size. Use a utility knife or a fine-toothed saw to make accurate cuts.
- Apply a generous amount of grab adhesive to the back of the panel, ensuring even coverage.
- Press the panel firmly against the wall, making sure it is level and aligned correctly.
- While the adhesive sets, secure the panel in place using screws or staples. This will provide extra support during the installation process.
- Repeat the process for the remaining panels, using the tongue and groove system to interlock them seamlessly.
- Fit trims along the edges of the panels to create a polished look and cover any gaps.
- Seal the joints between the panels with silicone to ensure a watertight seal, especially in wet areas.
By following these steps, you’ll be able to install PVC wall cladding in your bathroom with ease and confidence.
How to Install Ceiling Cladding
When it comes to installing ceiling cladding, you have a couple of options depending on the condition of your ceiling. If your ceiling is level and flush, you can simply fit the panels directly onto the surface. However, if your ceiling has dips or high peaks, it’s recommended to create a batten frame.
Start by installing battens around the edge of the room, making sure they are level. These battens will provide a solid base for your cladding. Next, fit edging trims in the corners, ensuring they overlap for a neat finish.
To begin installing the panels, cut the first panel to the desired size and remove the tongue for a smooth fit. Flex the panel into the trims and secure it with screws or staples, ensuring it is securely in place. Repeat this process for the remaining panels, using the tongue and groove system to create a seamless fit.
Finally, fit the last panel, making any necessary cuts to fit any gaps. Secure it with adhesive and screws or staples. With these simple steps, you can easily install ceiling cladding to enhance the look of your bathroom.

