If you’re considering installing bathroom plastic cladding, you may be wondering if it’s possible to cut it to fit your space. The good news is that cutting bathroom plastic cladding is not only possible but also relatively simple. With the right tools and techniques, you can achieve a perfect fit and create a stylish and functional bathroom.
So, let’s explore the tools and techniques that you can use to cut bathroom plastic cladding. Whether you’re a DIY enthusiast or a professional, these tips will help you achieve the desired results.
Key Takeaways
- To cut bathroom plastic cladding, you can use tools such as a Stanley knife, fine toothed saw, jigsaw, or mitre saw.
- The choice of tool depends on personal preference and the level of precision required for the cut.
- Using a Stanley knife is one of the easiest and fastest methods, allowing you to score and break off the panels.
- A fine toothed saw is ideal for achieving clean cuts, especially when cutting thicker PVC cladding.
- A jigsaw is versatile and suitable for both straight and curved cuts, providing more flexibility in design.
Cutting Methods for Bathroom Plastic Cladding
When it comes to cutting bathroom plastic cladding, there are several methods that can be used. The most common cut is to adjust the length of the panel to match your desired floor-to-ceiling height. The four popular cutting methods for PVC cladding are using a Stanley knife, a fine toothed saw, a jigsaw, and a mitre saw. Each method has its own advantages, and the choice of tool often comes down to personal preference and comfort level.
Cutting with a Stanley Knife
One of the easiest and fastest methods to cut bathroom plastic cladding is by using a Stanley knife. This versatile tool allows you to achieve precise cuts with minimal effort. To use a Stanley knife for cutting plastic cladding, follow these simple steps:
- Start by scoring across the width of the panel with the knife blade. Apply gentle pressure and make multiple passes if necessary to ensure a clean score line.
- Once you have scored the panel, place the score line over the edge of a bench or table, with the excess hanging off the edge.
- Apply downward pressure on the excess part of the panel. The scored line should break off cleanly, leaving you with a straight cut.
When using a Stanley knife, it’s important to exercise caution and keep your non-cutting hand clear of the blade travel. Always use a sharp blade to ensure clean cuts and replace the blade as needed.
Cutting with a Fine Toothed Saw
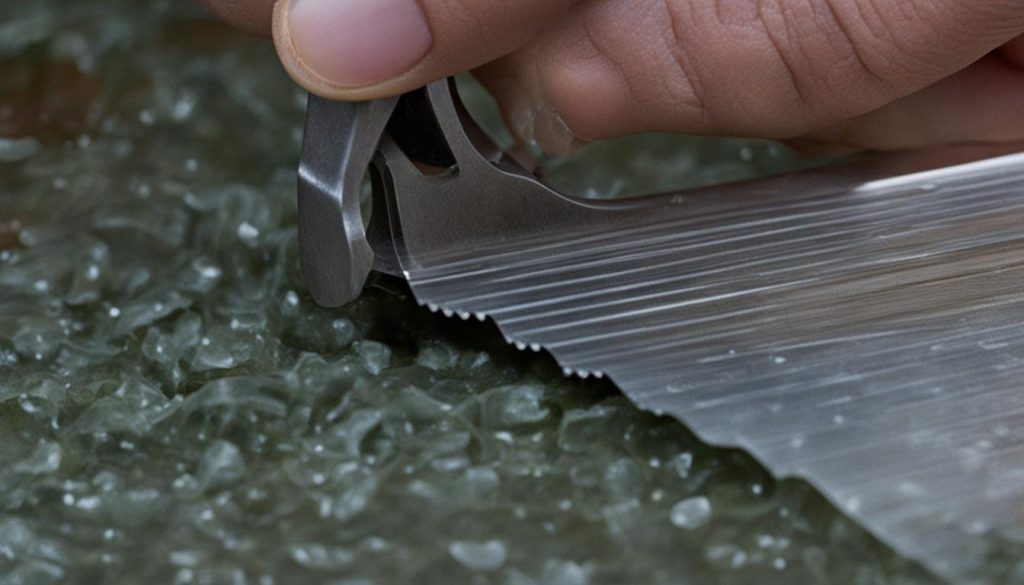
Another popular tool for cutting bathroom plastic cladding is a fine toothed saw, such as a uPVC Predator Saw. When using a saw, it is important to cut with the decorative face up to achieve a clean edge. The thinner the PVC cladding, the easier it is to cut through. It is possible to use a general handsaw to cut PVC cladding, but a test cut is recommended first to assess the level of tear out. Additionally, most cuts will be covered with a trim, which can further conceal any imperfections.
To achieve precise and clean cuts with a fine toothed saw, follow these steps:
- Measure and mark the desired length of the cladding panel.
- Secure the panel firmly in place, making sure it won’t move during the cutting process.
- Position the saw blade on the marked line, aligning it carefully.
- Apply gentle pressure and move the saw back and forth in a smooth motion.
- Continue cutting until you reach the end of the panel.
- Inspect the cut edge for any imperfections or roughness.
- If necessary, use sandpaper or a file to smooth out any rough areas.
Tips:
- Choose a fine toothed saw with sharp teeth for better precision.
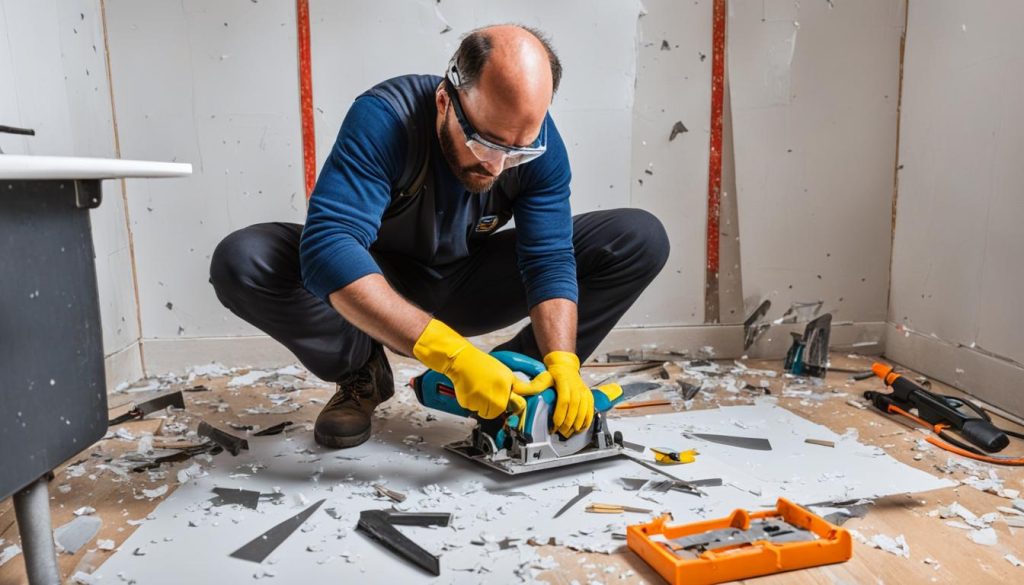
- Wear appropriate protective gear, including safety goggles and gloves, to ensure your safety during the cutting process.
- When cutting thinner PVC cladding, be extra careful to avoid applying excessive force as it may cause the panel to crack.
Remember, the fine toothed saw is a versatile and effective tool for cutting bathroom plastic cladding. By following the correct techniques and taking necessary precautions, you can achieve clean and precise cuts that will fit perfectly into your bathroom space.

Cutting with a Jigsaw
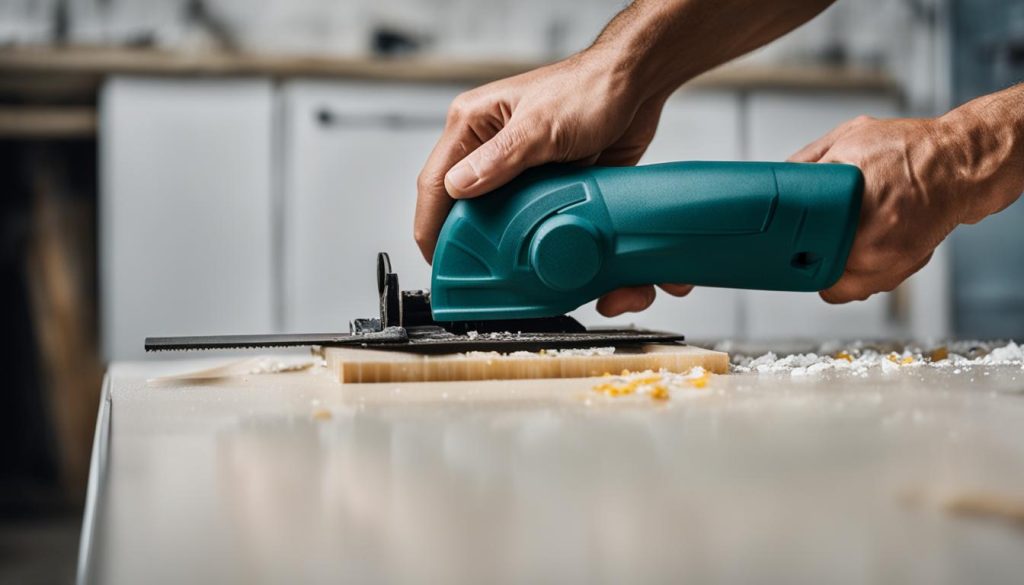
A jigsaw is a versatile tool that is great for both straight cuts and curved or shaped cuts in bathroom plastic cladding. It allows you to achieve precise and clean cuts with ease. To ensure the best results when cutting with a jigsaw, follow these steps:
- Start by selecting a fine toothed blade suitable for cutting plastic. This type of blade will minimize tear-out and produce a smoother cut.
- Position the bathroom plastic cladding with the decorative face facing down. This will help protect the surface from any potential scratches.
- Before making your actual cuts, it is recommended to perform test cuts on a scrap piece of PVC cladding. This will allow you to adjust your cutting technique and make any necessary adjustments.
- When you are ready to make your cuts, take it slow and steady. Let the jigsaw’s blade do the work and guide it along the desired cutting line.
- As you cut, be mindful of any curves or shapes you need to follow. The jigsaw’s maneuverability makes it ideal for these types of cuts.
By following these steps and taking your time to cut with a jigsaw, you can achieve cleaner finished edges and create precise fits for your bathroom plastic cladding.

Benefits of Using a Jigsaw
The use of a jigsaw offers several advantages when cutting bathroom plastic cladding:
- Versatility: A jigsaw’s ability to cut both straight lines and intricate shapes makes it a versatile tool for various cutting needs.
- Precision: The maneuverability of a jigsaw allows for precise cuts, even in tight corners or curves.
- Speed: With the right blade and technique, a jigsaw can make cuts quickly, saving you time and effort.
- Smoothness: By choosing a fine toothed blade, you can achieve smoother cuts with minimal tear-out or splintering.
When cutting bathroom plastic cladding, a jigsaw can be an excellent tool choice, providing you with the flexibility and precision needed to achieve professional-looking results. Remember to follow safety guidelines, wear appropriate protective gear, and practice on scrap pieces before making your actual cuts.
| Pros | Cons |
|---|---|
| Versatile tool for straight and curved cuts | Requires practice to achieve clean, straight cuts |
| Precision cutting in tight corners and curves | Potential for blade deflection if not properly guided |
| Fast cutting speed | May produce more noise and vibration compared to other cutting methods |
| Smooth cuts with minimal tear-out or splintering | Requires the use of a fine toothed blade for best results |
Cutting with a Mitre Saw
A mitre saw is a fantastic tool for cutting bathroom plastic cladding, especially if you have a large number of panels to cut. It allows you to make precise cuts quickly, making it the fastest method available. With a mitre saw, you can even cut through an entire pack of panels in a single pass, saving you valuable time and effort.
When using a mitre saw to cut bathroom plastic cladding, there are a few key points to keep in mind. Firstly, it is best to cut with the decorative face of the panel facing up. This will ensure that the top surface of the cladding remains intact and undamaged during the cutting process.
Secondly, it is important to use a fine tooth saw blade in your mitre saw. The fine tooth blade will provide cleaner, smoother cuts, minimizing the risk of chipping or splintering the plastic cladding. It is worth investing in a high-quality saw blade specifically designed for cutting plastic materials to achieve the best results.
Additionally, it is always a good practice to perform a test cut on a scrap piece of PVC panel before making the final cuts on your bathroom plastic cladding. This allows you to fine-tune your cutting technique and ensure that the mitre saw is set up correctly for clean and accurate cuts.
Overall, using a mitre saw for cutting bathroom plastic cladding provides speed and precision. Follow these guidelines, and you’ll be able to achieve smooth, professional-looking cuts that perfectly fit your space.
Best Methods for Cutting Bathroom Plastic Cladding
When it comes to cutting bathroom plastic cladding, the best method for you depends on personal preference. Some fitters prefer using a Stanley knife for its simplicity and speed, while others opt for a fine toothed saw for a clean edge. It is recommended that you use the tools that you feel most comfortable with and conduct test cuts to assess the results. However, safety should always be a priority, especially when using a Stanley knife.
“The best method for cutting bathroom plastic cladding ultimately depends on personal preference.”
It is important to keep safety in mind at all times when working with any tools. To ensure your well-being, remember to follow health and safety guidelines, especially when using a Stanley knife. Here are a few tips to stay safe:
- Always keep your non-cutting hand well out of the way of the blade.
- Wear appropriate protective gear, such as gloves and safety glasses, to prevent any accidents.
- Follow the manufacturer’s instructions and guidelines for the specific tools you are using.
By using the best methods suited to your preferences and taking the necessary safety precautions, you can achieve precise and clean cuts for the perfect fit of bathroom plastic cladding in your space.
Below is a summary of the best methods for cutting bathroom plastic cladding:
| Method | Advantages |
|---|---|
| Cutting with a Stanley knife | Simple and fast |
| Cutting with a fine toothed saw | Provides a clean edge |
| Cutting with a jigsaw | Versatile for straight and curved cuts |
| Cutting with a mitre saw | Fastest method for cutting a large number of panels |
Remember to choose the method that best suits your comfort and conduct test cuts to ensure the desired results.
Tips for Cutting Bathroom Plastic Cladding Safely
When cutting bathroom plastic cladding, safety should always be your top priority. To ensure a safe cutting process, follow these essential tips:
- Protective Gear: Wear appropriate protective gear, such as gloves and safety glasses, to safeguard against any potential injuries.
- Clear Non-Cutting Hand: Keep your non-cutting hand well away from the blade at all times, especially when using a Stanley knife or any other sharp cutting tool.
- Read the Instructions: Familiarize yourself with the manufacturer’s instructions and guidelines for the specific tools you are using, ensuring you understand the proper usage and safety precautions.
By implementing these safety measures, you can confidently proceed with cutting bathroom plastic cladding and complete your project without any untoward incidents.
Recommended Methods for Cutting Bathroom Plastic Cladding
In conclusion, cutting bathroom plastic cladding is a straightforward process that can be accomplished with basic hand tools. The most popular methods include using a Stanley knife, fine toothed saw, jigsaw, or mitre saw. It is important to choose the method that you feel most comfortable with and to take necessary safety precautions. By following the recommended methods and techniques, you can achieve precise and clean cuts for a perfect fit in your bathroom.


