Bleach is a commonly used cleaning agent in many households, but did you know that it can potentially stain plastic cladding in your bathroom? In this article, we will explore the impact of bleach on plastic cladding and provide you with effective prevention and cleaning solutions to maintain the integrity of your bathroom cladding.
Key Takeaways:
- Bleach can stain plastic cladding in your bathroom, compromising its appearance.
- Prevent bleach stains by taking proper precautions and avoiding the use of bleach on plastic cladding.
- Regular cleaning using non-abrasive cloths or sponges and mild soap is essential for maintaining the pristine condition of plastic cladding.
- Specialized cleaning solutions, such as PVC panel cleaning sprays, can simplify the cleaning process.
- Frequent cleaning and proper ventilation help prevent the accumulation of mold on bathroom ceilings.
The Benefits of PVC Bathroom Cladding Over Tiles
PVC bathroom cladding has become a popular choice for bathroom wall panels due to its numerous benefits over traditional tiles. Not only does PVC cladding offer a cost-effective alternative, but it also provides easy maintenance and cleaning advantages, making it an ideal choice for modern bathroom designs.
Unlike tiles that require grout, which can be difficult to clean and prone to mold growth, PVC cladding eliminates these concerns. With PVC bathroom cladding, you can enjoy a seamless and smooth surface that is easy to wipe clean and maintain. No more scrubbing or worrying about grout lines that trap dirt and grime.
Furthermore, PVC bathroom cladding is DIY-friendly, allowing homeowners to effortlessly install the panels themselves, saving money on professional installation costs. The lightweight nature of the cladding makes it easy to handle and maneuver, making the installation process quick and hassle-free.
In addition to these practical benefits, PVC cladding offers a wide range of design options to suit any style preference. Whether you prefer a sleek and modern look or a traditional aesthetic, there are PVC cladding options available to complement your bathroom decor.
Here are some key advantages of PVC bathroom cladding over tiles:
- Easy maintenance and cleaning
- Durable and long-lasting
- Cost-effective alternative to tiles
- DIY-friendly installation
- Wide range of design options
- Seamless and smooth surface
- No grout lines to clean or maintain
- Resistant to mold and mildew
Testimonial:
“I recently installed PVC bathroom cladding in my bathroom, and I couldn’t be happier with the results. Not only does it look amazing, but it is also so easy to keep clean. I no longer have to worry about scrubbing grout or dealing with mold. I highly recommend PVC cladding for anyone looking to update their bathroom.”
Emma, Manchester
In conclusion, PVC bathroom cladding offers numerous benefits over traditional tiles, making it an excellent choice for modern bathrooms. With its easy maintenance, cost-effectiveness, and DIY-friendly installation, PVC cladding provides a practical and stylish solution for transforming your bathroom into a clean and visually appealing space.
Recommended Cleaning Tools and Materials for Plastic Cladding
When it comes to cleaning plastic cladding in your bathroom, having the right tools and materials is essential to keep it looking its best. Here are the recommended items you’ll need:
- Non-abrasive cloths or sponges
- Microfiber cloths
- A bucket or spray bottle for water
- A mild soap or washing up liquid
These items are gentle enough to effectively clean the plastic cladding without causing any damage. Using non-abrasive cloths or sponges will prevent scratching, while microfiber cloths are great for wiping away dirt and grime.
Having a bucket or spray bottle handy will make it easier to mix water and soap for the cleaning solution. Just make sure to use a mild soap or washing up liquid rather than any abrasive cleaners that could harm the cladding.
| Cleaning Tools and Materials | Benefits |
|---|---|
| Non-abrasive cloths or sponges | – Gentle on plastic cladding – Prevents scratching |
| Microfiber cloths | – Effectively removes dirt and grime – Leaves a streak-free finish |
| Bucket or spray bottle for water | – Convenient for mixing cleaning solution – Provides easy application |
| Mild soap or washing up liquid | – Safe for use on plastic cladding – Does not cause damage or discoloration |
Using these cleaning tools and materials, you can confidently maintain the cleanliness and appearance of your plastic cladding, helping it to stand the test of time.
Step-by-Step Cleaning Process for Plastic Cladding
Keeping your plastic cladding clean is essential to maintain its appearance and prolong its lifespan. Follow this step-by-step cleaning process to ensure your plastic cladding stays spotless and looking new:
Gather the materials
Before starting the cleaning process, gather the necessary materials:
- Warm water
- Mild soap or washing up liquid
- Non-abrasive cloth or sponge
- Microfiber cloth
Apply soapy water
Begin by preparing a lather of warm, soapy water. Dip the non-abrasive cloth or sponge into the soapy water and apply it to the plastic cladding panels.
Allow it to soak
Let the soapy water sit on the panels for a few minutes to allow it to penetrate and loosen any dirt or grime.
Rinse with fresh water
After the soaking period, rinse the panels thoroughly with fresh water. This will remove any residue from the soapy water and leave the cladding clean.
Wipe in circular motions
Using the non-abrasive cloth or sponge, wipe down the panels in gentle circular motions. This will help to remove any remaining dirt or stains effectively.
Dry with a microfiber cloth
After cleaning, use a microfiber cloth to dry the plastic cladding. This will prevent water spots and give the panels a spotless finish.
Following these steps regularly will help keep your plastic cladding in optimal condition and extend its lifespan. By maintaining a clean and well-maintained appearance, your plastic cladding will continue to enhance the aesthetic appeal of your space for years to come.
Alternatives to Soapy Water for Cleaning Plastic Cladding
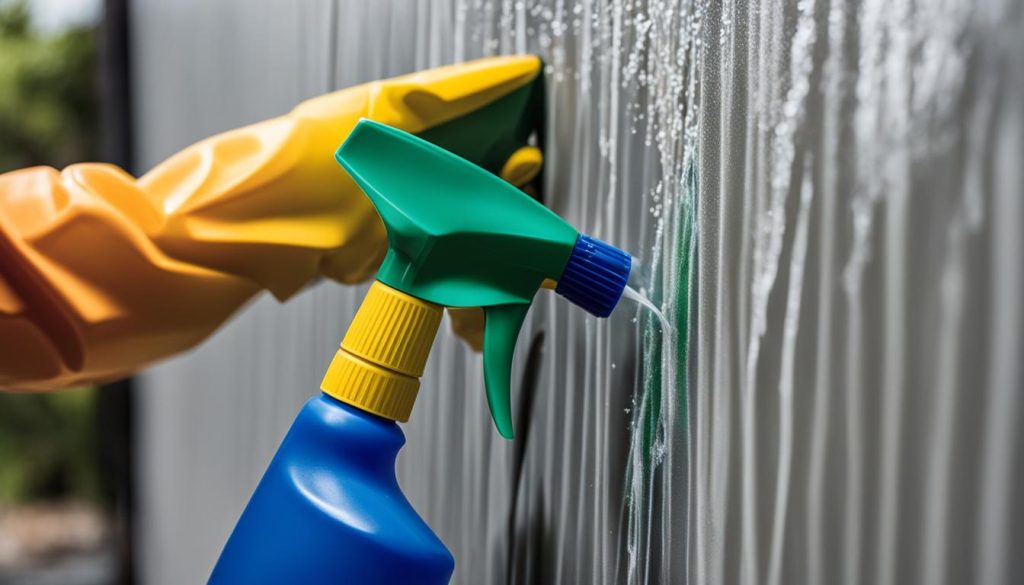
In addition to using soapy water, there are specialized cleaning solutions available for cleaning plastic cladding. These solutions, such as PVC panel cleaning sprays, simplify the cleaning process by requiring a simple spray and wipe with a microfiber cloth.
When it comes to maintaining the cleanliness and appearance of your plastic cladding, using specialized cleaning solutions can offer effective and efficient results. While soapy water is a common and effective cleaning method, there are alternatives that are specifically formulated for cleaning plastic surfaces.
Specialized cleaning solutions for plastic cladding
Specialized cleaning solutions, like PVC panel cleaning sprays, are designed to remove dirt, grime, and stains from plastic cladding without causing damage or discoloration. These cleaning sprays are formulated with ingredients that effectively break down and lift stubborn dirt and grime from the surface of the cladding.
The process of using a PVC panel cleaning spray is simple and straightforward. First, you’ll need to ensure the cladding is free from loose dirt and dust by wiping it down with a dry cloth or brush. Next, spray the cleaning solution evenly onto the cladding surface. Allow it to penetrate for a few minutes, giving it time to work its magic. Finally, using a clean microfiber cloth, wipe away the cleaning solution, leaving the cladding clean and refreshed.
These specialized cleaning solutions are designed to be gentle yet effective, ensuring that your plastic cladding remains in pristine condition. They can be easily incorporated into your regular cleaning routine, providing an extra layer of cleanliness and protection.
Benefiting from specialized cleaning solutions
The use of specialized cleaning solutions offers several advantages when it comes to cleaning plastic cladding. Firstly, these solutions are specifically formulated to tackle the unique challenges of cleaning plastic surfaces, ensuring optimal results without causing any damage or discoloration.
Secondly, these cleaning sprays simplify the cleaning process, saving you time and effort. The spray application allows for even coverage, ensuring that every inch of the cladding surface is treated. The wipe-off process is quick and convenient, leaving behind a clean and streak-free finish.
Lastly, specialized cleaning solutions, like PVC panel cleaning sprays, are designed to enhance the longevity and appearance of your plastic cladding. Regular cleaning with these solutions helps to prevent the build-up of dirt and grime, reducing the need for deep cleaning or restoration in the future.
Frequency of Cleaning for Plastic Cladding
Keeping your plastic cladding clean is essential to maintain its appearance and prevent the accumulation of dirt and grime. The frequency of cleaning depends on the usage of your bathroom. Establishing a regular cleaning routine is key to keeping your plastic cladding in pristine condition.
For bathrooms that are regularly used, it is recommended to clean the plastic cladding once a week. This helps prevent the build-up of residue and ensures that any stains or marks are removed promptly. Regular cleaning also reduces the chances of mold or silicone damage, as moisture and dirt can contribute to their growth.
Recommended Cleaning Routine:
- Start by dusting the plastic cladding with a dry microfiber cloth or a soft brush to remove any loose particles.
- Prepare a solution of warm water and a mild soap or washing up liquid.
- Use a non-abrasive cloth or sponge to gently wash the cladding, paying attention to any areas that may be stained or dirty.
- Rinse the cladding thoroughly with clean water to remove any soap residue.
- Dry the cladding with a microfiber cloth or allow it to air dry.
| Cleaning Frequency | Action |
|---|---|
| Weekly | Clean the plastic cladding using a mild soap solution and a non-abrasive cloth or sponge. |
| Daily | Wipe down the cladding after each use to prevent water accumulation and reduce the chances of mold or silicone damage. |
Remember, the cleanliness of your plastic cladding contributes to the overall hygiene and aesthetic appeal of your bathroom. By following a regular cleaning routine, you can enjoy a clean and well-maintained plastic cladding for years to come.
The Impact of Bleach on Plastic Cladding
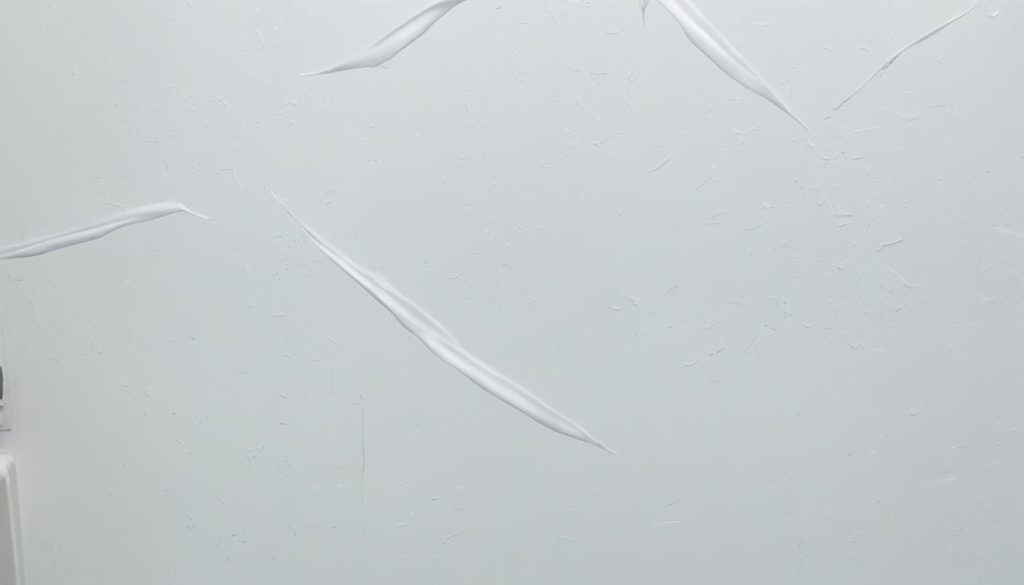
Bleach can have damaging effects on plastic cladding. When bleach comes into contact with plastic surfaces, it can cause unsightly stains and discoloration. This can ruin the appearance of your plastic cladding and detract from the overall aesthetic of your bathroom. In addition to stains, bleach can also compromise the integrity of the cladding surface, making it more susceptible to damage and degradation.
To maintain the pristine appearance of your plastic cladding and prolong its lifespan, it is crucial to avoid using bleach as a cleaning agent. Instead, opt for alternative cleaning solutions that are safe for use on plastic surfaces. By choosing the right products and adopting proper cleaning techniques, you can keep your plastic cladding looking its best without the risk of damage.
“Bleach can cause unsightly stains and discoloration on plastic cladding, compromising its appearance and integrity.”
When it comes to cleaning plastic cladding, prevention is key. By avoiding the use of bleach, you can prevent stains and discoloration from occurring in the first place. Regular maintenance and cleaning routines using safe and suitable cleaning materials will help to keep your plastic cladding in optimal condition and preserve its visual appeal.
To learn more about the proper cleaning techniques and materials for plastic cladding, refer to Section 3: Recommended Cleaning Tools and Materials for Plastic Cladding.
How to Remove Mold from Bathroom Ceilings
If you’ve discovered mold on your bathroom ceilings, it’s important to take immediate action to remove it. Mold not only looks unsightly but can also pose health risks. Follow these steps to effectively remove mold from your bathroom ceilings:
- Wear protective gear: Before you start the cleaning process, it’s crucial to protect yourself from mold spores. Wear a mask and gloves to prevent any exposure.
- Mix a cleaning solution: Prepare a solution of warm water with detergent or create a homemade mixture by diluting bleach or white vinegar. Both options can be effective in removing mold.
- Clean the affected area: Using a sponge or cloth, dip it into the cleaning solution and thoroughly wash the moldy area. Scrub gently to remove the mold stains, ensuring you cover the entire affected surface.
- Rinse and dry: After cleaning, rinse the area with clean water to remove any remaining cleaning solution. Use a dry cloth or towel to pat the ceiling dry.
It’s important to note that using bleach might not be suitable for all types of ceilings. Test a small inconspicuous area first to ensure it doesn’t cause any discoloration or damage. Additionally, if you prefer to use a natural solution, white vinegar can be an effective alternative.
Expert Tip:
“To prevent the spread of mold spores, make sure to clean the surrounding area as well, including walls and fixtures. This will help eliminate any hidden sources of mold and prevent future growth.”
Once you’ve successfully removed the mold, it’s essential to address the underlying cause to prevent its return. Improving ventilation, fixing any sources of moisture, and regularly cleaning and maintaining your bathroom can help minimize the risk of mold recurrence.
Remember, if you’re dealing with extensive mold growth or have any concerns about addressing the issue yourself, it’s always recommended to consult a professional mold removal company for assistance.
Mold Removal Comparison Chart
| Method | Pros | Cons |
|---|---|---|
| Warm water with detergent |
|
|
| Diluted bleach |
|
|
| White vinegar |
|
|
Preventing the Return of Mold on Bathroom Ceilings
To keep your bathroom ceilings mold-free, it’s crucial to take preventative measures. Here are some effective strategies:
- Proper Ventilation: Good airflow is essential in preventing mold growth. Install a ventilation fan or use extractor fans to expel moist air. In addition, opening windows and doors can improve circulation and help dry out the area.
- Anti-Mold Paint: Applying anti-mold paint on your bathroom ceilings can create a protective barrier against condensation and inhibit mold formation. This specialized paint contains additives that help repel moisture, providing an extra layer of defense.
- Ceiling Cladding: Consider installing ceiling cladding made of PVC. It acts as a moisture barrier, preventing water absorption and mold growth. PVC cladding is resistant to moisture and doesn’t promote mold development, making it an ideal choice for a mold-free bathroom ceiling.
By implementing these preventative measures, you can maintain a clean and mold-free environment in your bathroom. Remember, prevention is key to avoiding the development of mold and the associated health risks.
Reducing Moisture Build-Up with PVC Ceiling Panels
In bathrooms, moisture build-up can lead to mold growth and damage to the ceiling. To prevent these issues, PVC ceiling panels offer an effective solution. Unlike plaster or grout, PVC panels do not absorb moisture from condensation, making them resistant to mold. Not only do they contribute to mold prevention, but they also reduce the overall moisture levels in the bathroom, creating a healthier environment.
PVC ceiling panels can be easily installed over anti-mold paint, providing an additional layer of protection against moisture and mold. The combination of anti-mold paint and PVC panels creates a barrier that helps to reduce the risk of mold growth on the ceiling.
Furthermore, maintaining PVC ceiling panels is a simple task. Regular cleaning with a mild detergent and water solution is usually sufficient to keep them looking clean and fresh. Their smooth surface repels water and prevents moisture from accumulating, further reducing the chances of mold formation.
Installing PVC ceiling panels in your bathroom not only adds aesthetic appeal but also helps in preventing moisture build-up and mold growth. Their moisture-resistant properties and easy maintenance make them a practical choice for any bathroom.
| Benefits of PVC Ceiling Panels for Moisture Build-Up: |
|---|
|
“PVC ceiling panels provide an effective solution for reducing moisture build-up and preventing mold in bathrooms.”
Choosing the Right PVC Ceiling Panels for Mold Prevention
When it comes to preventing mold on your bathroom ceiling, choosing the right PVC ceiling panels is crucial. You need panels that are not only attractive but also mold-resistant and waterproof. Fortunately, there are options available that meet these requirements perfectly.
Two popular choices for mold prevention are the White Gloss PVC Ceiling Cladding and the White Ash PVC Ceiling Cladding. Both of these panels are 100% waterproof, ensuring that moisture doesn’t seep in and create a breeding ground for mold. By installing these panels, you can protect your bathroom ceiling and maintain its pristine appearance.
Not only do these PVC ceiling panels offer excellent mold resistance and waterproofing properties, but they also add a touch of elegance to your bathroom. The White Gloss PVC Ceiling Cladding provides a sleek and contemporary look, while the White Ash PVC Ceiling Cladding offers a more natural and traditional aesthetic.
By choosing the right PVC ceiling panels for mold prevention, you can create a beautiful and functional bathroom space that remains mold-free and easy to maintain. So invest in quality panels like the White Gloss PVC Ceiling Cladding or White Ash PVC Ceiling Cladding, and say goodbye to mold worries in your bathroom.

