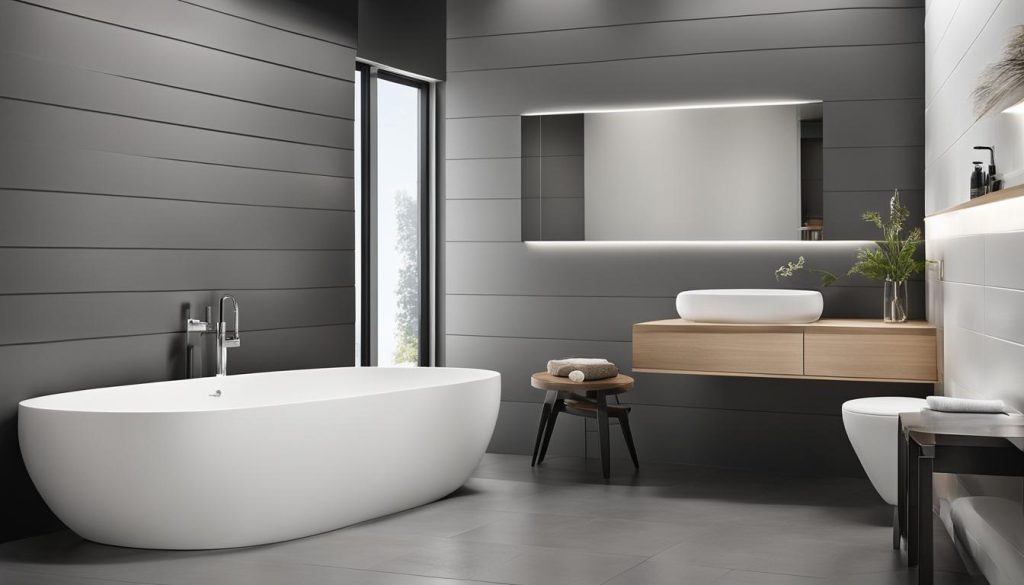
Bathroom cladding is a popular alternative to tiles for shower walls due to its waterproof properties and ease of installation. It eliminates the need for grout, reducing the risk of leaks and mold. There are now attractive designs available that mimic the look of tiles. When installing bathroom cladding, it is essential to prepare the substrate and seal the joints properly. However, horizontal installation of bathroom cladding is not recommended as it is more challenging to install and requires thorough sealing of each joint.
Key Takeaways:
- Horizontal installation of bathroom cladding can be more challenging and requires proper sealing of each joint.
- Bathroom cladding is a waterproof and mold-resistant alternative to traditional tiles.
- It eliminates the need for grout, reducing the risk of leaks and making maintenance easier.
- Proper substrate preparation and joint sealing are crucial for a successful bathroom cladding installation.
- Consider the pros and cons before deciding to fix bathroom cladding horizontally.
Why Choose Bathroom Cladding Over Tiles?
When it comes to bathroom design, choosing the right wall covering is important for both functionality and aesthetics. Bathroom cladding offers several advantages over traditional tiles, making it a popular choice among homeowners. Here are some key reasons why you should consider bathroom cladding:
- Complete Waterproofing: Unlike tiles, bathroom cladding is completely waterproof, eliminating the risk of leaks and water damage. This is especially important in areas like showers where moisture is prevalent.
- Easier Maintenance: With bathroom cladding, there is no grout to crack or turn moldy. This makes maintenance a breeze, as you won’t have to spend time scrubbing grout lines or dealing with mold growth.
- Cost-Effective Solution: Bathroom cladding is a cost-effective alternative to tiles. It can be installed directly over existing substrates, saving you both time and money. There is no need for extensive preparation work, such as removing old tiles.
- Wide Range of Designs: Bathroom cladding offers a wide range of designs to suit any style preference. You can choose from tile-effect panels that mimic the look of traditional tiles or opt for mosaic-effect panels for a unique and stylish bathroom design.
If you’re looking for a waterproof wall covering for your bathroom that is easy to maintain, cost-effective, and offers design versatility, then bathroom cladding is the ideal choice. Its benefits make it a superior alternative to traditional tiles, providing both functionality and style.
Image: Bathroom cladding is a superior choice for showers due to its waterproof properties.
The Installation Process of Bathroom Cladding
Installing bathroom cladding is a straightforward process that can transform your bathroom in no time. Follow these simple steps to ensure a smooth and successful installation.
Step 1: Prepare the Substrate
Before installing bathroom cladding, it’s important to prepare the substrate. Make sure the surface is dry, clean, and free of any dust or soap residue. This will ensure proper adhesion and a long-lasting installation.
Step 2: Choose the Right Cladding
Next, select the right type of bathroom cladding for your project. There are various materials and designs available, so choose one that suits your style and budget.
Step 3: Measure and Cut
Measure the area where you’ll be installing the cladding and cut the panels to size accordingly. Use a saw or a sharp utility knife to achieve precise cuts.
Step 4: Apply Adhesive
Apply adhesive to the back of the cladding panels and evenly spread it using a notched trowel. Ensure that the adhesive covers the entire surface of the panel.
Step 5: Install the Cladding
Starting from the corner of the shower, press the cladding panel firmly against the wall. Use a spirit level to ensure a level installation. Repeat this process for each panel, making sure they fit tightly together.
Step 6: Seal the Joints
To ensure a watertight installation, it’s crucial to seal the joints between the cladding panels. Use a high-quality silicone sealant that is specifically designed for bathroom use. Apply a thin bead of sealant along the joints and smooth it out with a caulking tool.
Step 7: Finishing Touches
Once the cladding is installed and the joints are sealed, clean off any excess adhesive or sealant. Take a step back and admire your newly transformed bathroom!
Installing bathroom cladding is a great way to update your bathroom and achieve a fresh, modern look. Follow these steps and refer to the manufacturer’s instructions for your specific cladding product to ensure a successful installation.
With simple steps and a little bit of effort, you can easily install bathroom cladding and enhance the look of your bathroom. Whether you’re a DIY enthusiast or hiring a professional, following these tips will help you achieve a stunning and durable result.
Sealing Between the Shower Wall and Shower Tray
The joint between the shower wall and the shower tray is crucial to prevent leaks in the shower cubicle. To ensure a watertight seal, it is important to install a sturdy and well-supported shower tray that won’t flex. Applying silicone sealant to the sides of the tray where it meets the walls is essential for creating a waterproof barrier.
When sealing the shower tray, it is vital to remove any excess silicone immediately to prevent it from setting on the surface of the cladding. This can be done by using a damp cloth or sponge. Properly wiping off excess silicone helps maintain a clean and professional finish.
To provide additional protection against leaks, it is recommended to create two seals between the shower wall and tray. One seal should be applied behind the cladding panels, ensuring that all joints are properly sealed. The second seal should be applied at the front where the panels meet the tray, effectively sealing any potential gaps that could allow water to penetrate.
By sealing between the shower wall and shower tray using silicone sealant, you can prevent leaks and water damage, ensuring a long-lasting and waterproof shower installation.
| Benefits of Proper Sealing | Preventing Leaks in Shower Cubicles | Waterproof Seal for Shower Wall and Tray | Silicone Sealant for Shower Installation |
|---|---|---|---|
| 1. Ensures watertight seal between the shower wall and tray | 1. Reduces the risk of leaks and water damage | 1. Provides a waterproof barrier | 1. Silicone sealant is ideal for sealing shower installations |
| 2. Prevents water from seeping into joints or gaps | 2. Protects the integrity of the shower cubicle | 2. Maintains a dry environment | 2. Creates a durable and long-lasting seal |
| 3. Enhances the longevity of the shower installation | 3. Minimizes the risk of mold and mildew growth | 3. Guards against water-related issues | 3. Easy to apply and provides a secure seal |
The Different Joint Types in Bathroom Cladding
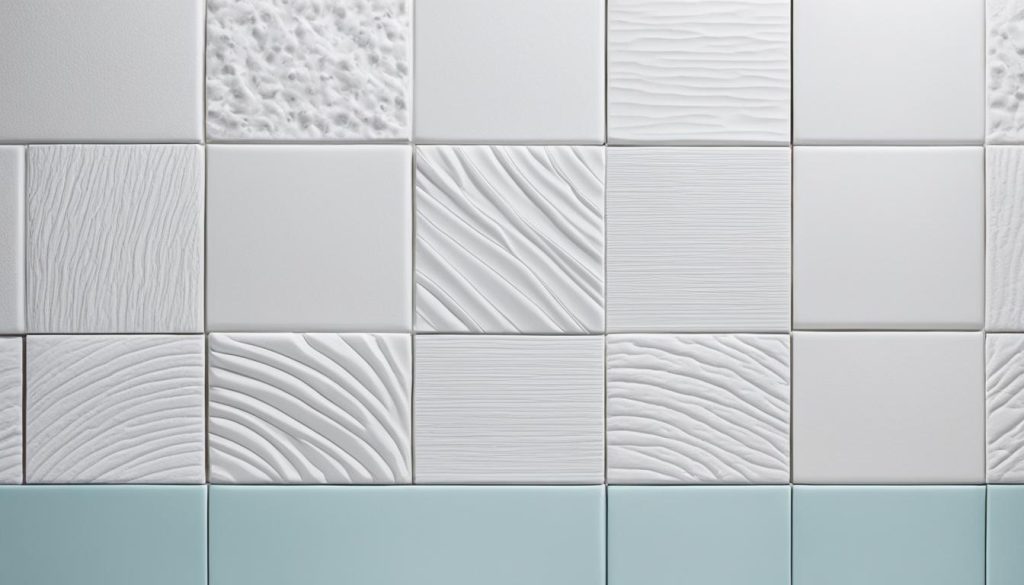
Bathroom cladding panels come with different joint types that allow for easy assembly and a flush finish. These joints, such as tongue and groove joints, ensure a secure connection between the panels. However, it’s important to note that these joints may require additional sealing for complete waterproofing.
There are three main joint types available in bathroom cladding:
- Flush Joints: Flush joints create a seamless appearance with a slight join line. This type of joint is suitable for most applications, providing a clean and modern look.
- V Groove Joints: V groove joints create a plank-like finish with visible grooves down the join. This joint style adds a touch of definition and texture to the cladding, giving it a more rustic or traditional appearance.
- Contrast Joints: Contrast joints feature a strip that runs vertically, adding a decorative element to the cladding. This joint type offers a distinctive design choice, allowing for unique and eye-catching patterns.
| Joint Type | Description |
|---|---|
| Flush Joints | Create a seamless appearance with a slight join line, suitable for most applications. |
| V Groove Joints | Create a plank-like finish with visible grooves down the join, adding texture to the cladding. |
| Contrast Joints | Feature a strip that runs vertically, adding a decorative element to the cladding. |
Each joint type brings its own aesthetic appeal to bathroom cladding. Consider the overall design and style of your bathroom when choosing the joint type that best suits your needs. Whether you prefer a seamless look, a textured finish, or a decorative touch, there is a joint type available to enhance the visual appeal of your bathroom cladding.
Joining Bathroom Cladding Panels
When installing bathroom cladding, one key aspect is joining the panels together to create a seamless and secure finish. The panels are designed with a built-in tongue and groove system, allowing for easy assembly and a watertight connection. Simply slot the panels together, ensuring a snug fit.
In some cases, for wood-based cladding panels, additional joining strips may be used to enhance the joint’s strength. These strips are placed on the backside of the panels, providing extra support and stability.
Sealing the joints is an essential step to ensure complete waterproofing and prevent any potential leaks. Using a thin bead of silicone, carefully apply it along the joints to create a tight seal. This will prevent water from penetrating and causing damage.
Methods for Joining Cladding Panels:
- Tongue and groove system: The panels are joined together using the integrated tongue and groove system. This is the standard and preferred method for joining bathroom cladding panels.
- Using joining strips: Joining strips can be used with wood-based cladding panels to provide additional support and strengthen the joint.
Properly joining and sealing the cladding panels is crucial to ensure a durable and long-lasting installation. It is essential to choose a method that suits your personal preference and desired aesthetic. By following these methods, you can achieve a professional and visually appealing finish for your bathroom cladding project.
Remember, a secure joint and adequate sealing are key to prevent leaks and maintain the integrity of your bathroom cladding installation.
Benefits of Bathroom Cladding for Showers
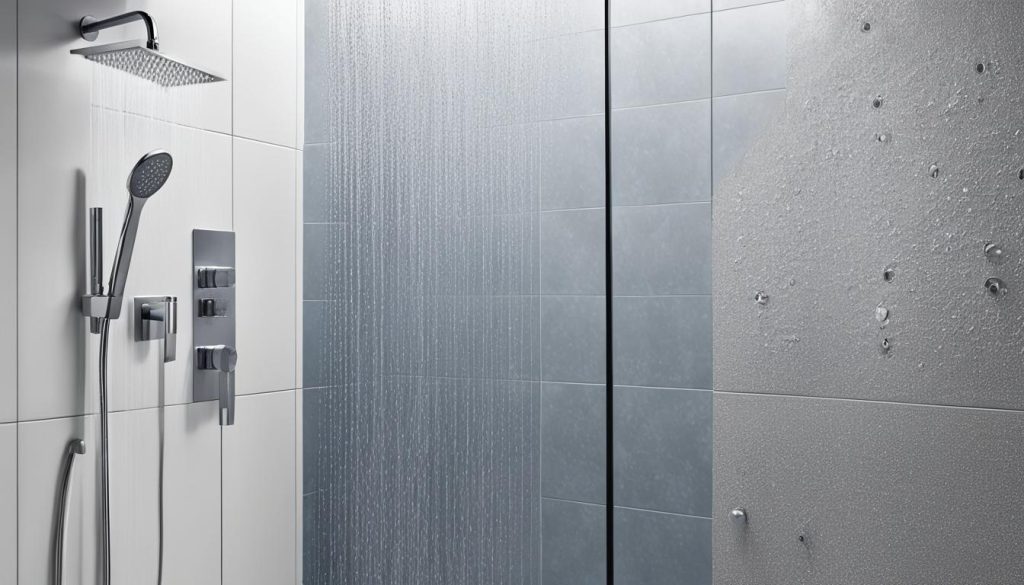
When it comes to shower installations, bathroom cladding offers a multitude of advantages that make it a popular choice. Let’s explore the benefits of using bathroom cladding for your shower:
- Complete Waterproofing: Bathroom cladding is entirely waterproof, ensuring that your shower cubicle remains free from leaks and water damage. With its superior waterproof properties, it provides excellent protection for your shower walls.
- Maintenance-Free: Unlike traditional tiles that require grouting and regular cleaning, bathroom cladding eliminates the need for extensive maintenance. Say goodbye to scrubbing grout lines and dealing with mold and mildew. With cladding, you can enjoy a hassle-free shower experience.
- Cost-Effective Solution: Bathroom cladding is a cost-effective alternative to tiles. It can be installed directly over existing substrates, saving you time and money on extensive preparation work. This makes bathroom cladding a budget-friendly option for upgrading your shower walls.
- Durable and Mildew-Resistant: Cladding panels offer a durable and long-lasting solution for shower walls. They are resistant to mold and mildew, ensuring a clean and hygienic shower environment. You can enjoy a fresh and pristine shower space for years to come.
- Wide Range of Design Options: Bathroom cladding provides endless design possibilities for your shower. With a variety of designs, patterns, and finishes available, you can create a stylish and personalized shower space that reflects your unique taste and style.
Experience the advantages of bathroom cladding for showers, including its waterproof properties, low maintenance requirements, cost-effectiveness, durability, and design versatility. Upgrade your shower walls with beautiful and functional cladding panels for a modern and hassle-free shower experience.
Testimonials
“I recently installed bathroom cladding in my shower, and I’m thrilled with the results. It’s so easy to maintain, and I no longer have to worry about grout cleaning or leaks. Highly recommended!”
– Emma Williams, Manchester
“The wide selection of design options in bathroom cladding allowed me to create a stunning shower space that truly stands out. It’s not only beautiful but also practical and waterproof. I couldn’t be happier!”
– James Thompson, London
| Advantages of Bathroom Cladding for Showers |
|---|
| Complete waterproofing |
| Maintenance-free |
| Cost-effective solution |
| Durable and mildew-resistant |
| Wide range of design options |
Choosing the Right Size Panels for Your Shower
When it comes to selecting panels for your shower, you have two main size options to consider: large shower panels and narrower panels. Both options have their own advantages and considerations, so it’s essential to choose the one that best suits your preferences and requirements.
Large Shower Panels
Large shower panels provide a seamless and uninterrupted surface, as they can cover an entire wall in one span. This creates a sleek and modern look for your shower enclosure. However, it’s important to note that large panels are more expensive and can be harder to cut to fit specific spaces. If you opt for large shower panels, it’s crucial to measure accurately and have the necessary tools and skills for installation.
Narrower Panels
If cost-effectiveness and ease of installation are priorities for you, narrower panels may be the better choice. These panels are more affordable and easier to fit into smaller or irregularly shaped spaces. They can be installed in slots and still provide the same level of waterproofing when the joints are properly sealed. Narrower panels are also easier to handle and transport, making the installation process more manageable.
In summary, the choice between large and narrow shower panels ultimately depends on your personal preference and the specific requirements of your shower. If you desire a seamless and uninterrupted surface, large panels may be the way to go. However, if you’re looking for a more cost-effective and easier-to-install option, narrower panels are worth considering.
| Large Shower Panels | Narrower Panels |
|---|---|
| Create a seamless and uninterrupted surface | Cost-effective and easier to fit |
| Expensive and harder to cut | Easier to handle and transport |
| Provide a sleek and modern look | Can be installed in slots |
Storing and Care for Bathroom Cladding Panels
Proper storage and maintenance are essential for keeping your bathroom cladding panels in good condition. Follow these tips to ensure their longevity:
Storing Bathroom Cladding Panels
When storing bathroom cladding panels, it is crucial to keep them in the right conditions to prevent warping or damage. Here’s what you should do:
- Store the panels indoors in a cool, dry place.
- Ensure they are stored flat to prevent flexing.
- Protect the panels from knocks or bangs.
By following these steps, you can preserve the quality and structural integrity of your bathroom cladding panels, making them ready for installation whenever you’re ready.
Care and Cleaning for Bathroom Cladding Panels
Maintaining bathroom cladding is relatively simple and straightforward. Regular cleaning can help to keep it looking fresh and prolong its lifespan. Follow these care instructions:
- Use warm water and mild soap to clean the cladding panels.
- Avoid using abrasive cleaners or tools that may scratch the surface.
- Gently wipe the panels clean with a soft cloth or sponge.
By using mild cleaning solutions and avoiding harsh chemicals, you can safeguard the appearance and integrity of your bathroom cladding panels. Remember, regular maintenance is key to keeping them in pristine condition.
| Do’s | Don’ts |
|---|---|
| Store panels indoors in a cool, dry place | Store panels in damp or humid areas |
| Keep panels flat to prevent flexing | Store panels in an upright position |
| Protect panels from knocks or bangs | Stack heavy objects on top of the panels |
| Clean panels with warm water and mild soap | Use abrasive cleaners or tools |
| Gently wipe panels with a soft cloth or sponge | Scrub panels vigorously |
Delivery and Returns of Bathroom Cladding Panels
When purchasing bathroom cladding panels, it is essential to consider the delivery options and returns policy. Many suppliers offer free delivery for orders over a certain amount. Delivery times may vary, but most orders are dispatched within a few working days. If there are any issues with the delivery, such as damaged panels, it is important to contact the supplier promptly to arrange a return or replacement. The returns process typically requires the customer to organize the return and may incur a delivery fee.
Applications and Versatility of Bathroom Cladding
Bathroom cladding is not limited to bathroom applications. Its versatility extends to various spaces, offering a practical and stylish solution for your interior design needs. Whether you’re revamping your kitchen, bedroom, office space, shop, spa, salon, bar, showroom, gym, or even a commercial kitchen, bathroom cladding can enhance the aesthetics and functionality of these areas.
The low maintenance and easy fitting properties of bathroom cladding make it an ideal choice for interior wall coverings. Its waterproof properties make it particularly well-suited for high-moisture areas, such as shower cubicles and wet rooms, where traditional tiles may struggle to withstand constant exposure to water and humidity.
With its wide range of designs and finishes available, bathroom cladding offers endless possibilities for creative and stylish interior design. Whether you prefer a contemporary look, a rustic vibe, or something in between, there’s a cladding design to suit every taste and complement any space. From sleek and minimalist designs to bold and eye-catching patterns, the choice is yours.
Commercial Uses of Bathroom Cladding
Bathroom cladding panels have found significant commercial applications due to their durability, easy installation, and low maintenance requirements. Their waterproof properties make them perfect for use in commercial kitchens, where hygiene and cleanliness are of utmost importance. The seamless and watertight finish provided by cladding panels helps create a safe and sanitary environment.
Additionally, many businesses in the hospitality industry, such as hotels, restaurants, and spas, have embraced the use of bathroom cladding to elevate their interior design. The wide range of designs and finishes allows for the creation of unique and inviting spaces that reflect the brand’s identity.
Overall, the applications and versatility of bathroom cladding extend far beyond the traditional bathroom setting. Whether you’re looking to transform your residential space or enhance a commercial environment, bathroom cladding offers a practical, stylish, and cost-effective solution.
| Applications of Bathroom Cladding | Versatility of Wall Cladding |
|---|---|
|
|
| Interior Cladding for Various Spaces | Commercial Uses of Cladding Panels |
|
|
Conclusion
Bathroom cladding offers a practical and stylish solution for shower walls and other interior spaces. It provides numerous benefits, making it a popular choice among homeowners and professionals alike. The waterproof properties of bathroom cladding ensure protection against leaks and water damage, while its ease of installation and low maintenance requirements make it a convenient option.
With a wide range of designs and finishes available, bathroom cladding allows for versatility and customization, enabling you to create a unique and personalized interior design. Whether you are renovating a bathroom, kitchen, or commercial space, bathroom cladding provides a durable and attractive solution that suits various applications.
When considering bathroom cladding, it is essential to evaluate the pros and cons of horizontal installation and ensure proper sealing techniques are implemented to achieve a successful and long-lasting installation. By choosing bathroom cladding, you can enjoy the benefits of a waterproof, low maintenance, and aesthetically pleasing wall covering that adds both functionality and style to your space.

